
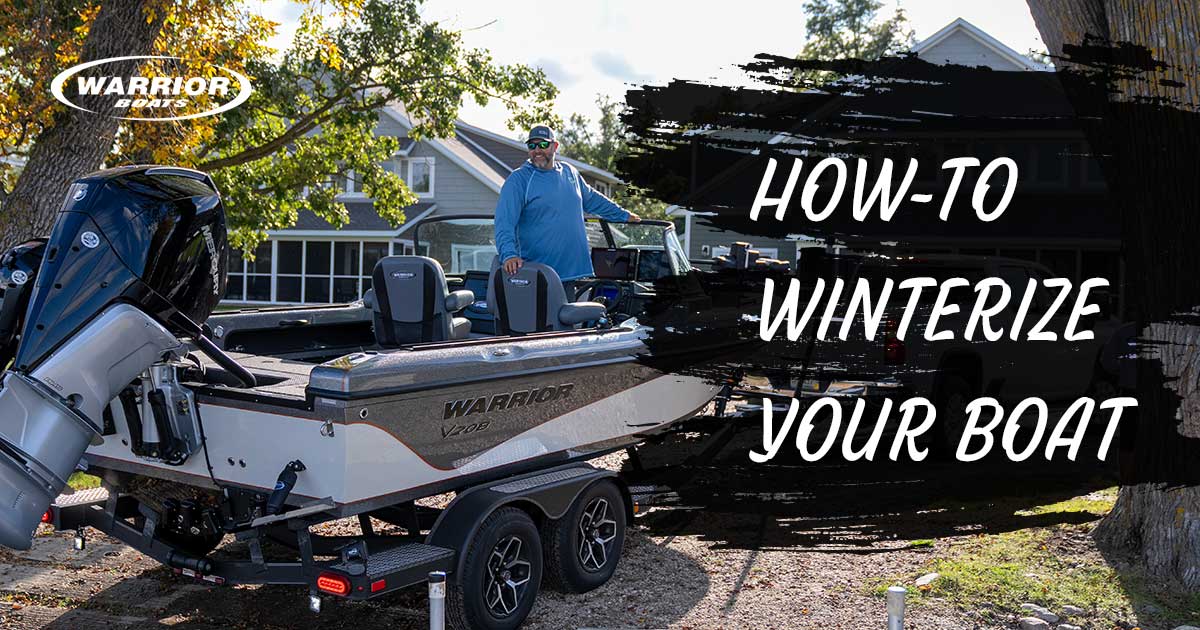
When the last walleye trip wraps up and ice starts forming on the shallows, it’s time to think about protecting your Warrior investment. Proper winterization isn’t just about storing your boat until spring. It’s about safeguarding the quality craftsmanship and tournament-tested features that make your Warrior a fishing machine you can count on season after season.
Whether you fish the big water or chase walleye on Midwest inland lakes, harsh winter conditions demand thorough preparation. The good news? Warrior’s wood-free construction and lifetime hull warranty give you a solid foundation to work from. But even the toughest boat needs proper care when temperatures drop below freezing.
Why Proper Winterization Matters
A few hours spent winterizing your boat can save you thousands in repairs come spring. When water freezes inside your engine’s cooling system, livewells, or bilge, the expansion can split hoses, and damage pumps. Battery failure, corroded electrical connections, and deteriorated gel coat are other common problems that proper winterization prevents.
For upper Midwest anglers, late fall is typically the time to start thinking about winterization. Don’t wait until the lakes are frozen over. Your Warrior’s lifetime warranty covers manufacturing defects, but damage from freezing and improper storage isn’t included. Think of winterization as protecting your investment and ensuring your warranty stays intact.
The Essential Warrior Winterization Checklist
Step 1: Prepare Your Engine and Fuel System
Your outboard motor is the heart of your Warrior, and it needs special attention before winter storage. Start by filling your fuel tank, but here’s a critical safety point: fill less than the rated capacity to allow for expansion. Gasoline expands and contracts with temperature changes, and an overfilled tank can lead to dangerous fuel spills or even fire hazards.
Add a quality gasoline stabilizer and conditioner to your fuel tank. This prevents the formation of gum and varnish that can clog your fuel system. After adding the stabilizer, run your engine for 10 minutes to ensure the treated fuel reaches your total fuel system.
Next, be sure to trim your engines down to drain your system completely. Do this after each use in late fall. Any water left inside can freeze and cause expensive damage. Change your lower unit oil and grease all fittings while you’re at it. For detailed, engine-specific winterization steps, always refer to your engine manufacturer’s operator manual. Yamaha, Mercury, and other outboard makers have specific procedures for their motors.
Step 2: Protect Your Boat’s Hull and Systems
Remove all hull drain plugs. This is non-negotiable. Even a small amount of trapped water can cause problems. Open every drain point you can find.
Drain your livewell completely. The Warrior Owner’s Manual specifically warns: do not leave water in the livewell system during winter storage. This applies to all models, from the compact V1890 Backtroller to the spacious V238 with its dual livewells. Flush and drain your bilge thoroughly, and clean and dry all storage compartments.
When positioning your boat for storage, ensure the bow sits higher than the stern. This allows any remaining water to drain toward the transom and out through the drain holes. It’s a simple step that makes a big difference.
Before covering your boat, wash and wax the gel coat. This protective layer shields your Warrior’s finish from harsh winter conditions and makes spring cleaning much easier. Use a quality marine wax and avoid products containing ammonia or chlorine, which can damage the gel coat over time.
Step 3: Battery Care and Electrical Systems
When disconnecting batteries, order matters. Always remove the negative cable first, then the positive cable. This prevents dangerous sparks and protects your electrical system. Clean the terminals thoroughly with a wire brush or steel wool, removing any corrosion or buildup.
Apply a protective grease to the terminal posts to prevent corrosion during storage. Here’s an important detail from the Warrior Owner’s Manual: store batteries on a wood pallet or thick plastic in a cool, dry place. Never store batteries directly on concrete, as this can drain them and shorten their lifespan.
Storage location considerations:
If storing your boat indoors in a heated space, you may choose to leave batteries in the boat on a trickle charger for convenience. However, most Midwest anglers prefer to remove batteries regardless of storage location for optimal battery health and easier maintenance access.
If storing your boat outdoors or in an unheated garage or shed, battery removal is essential. Cold temperatures significantly reduce battery capacity and can cause permanent damage if batteries are left discharged. Store removed batteries indoors in a basement, utility room, or heated garage where temperatures remain above freezing.
Keep your batteries on a trickle charger throughout the winter. This maintains their charge and extends their life. Refer to your battery manufacturer’s documentation for specific storage requirements and charging recommendations, as different battery types (flooded lead-acid, AGM, lithium) may have different optimal storage conditions.
Step 4: Trailer and Cover Prep
Your EZ Loader trailer needs attention too. Here’s a Warrior-specific tip that’s often overlooked: slack off your tie-downs to reduce hull strain. Keeping tie-downs tight all winter can stress the hull unnecessarily. Loosen them just enough to relieve pressure while still keeping the boat secure.
If your outboard needs to be tilted up for ground clearance, use an outboard support bar. The Warrior Owner’s Manual is clear: do not rely on the motor tilt lever to support your engine during storage. The tilt lever isn’t designed for long-term support and can fail.
Jack up your trailer and install blocks to take weight off the wheels and springs. This prevents flat spots on tires and extends the life of your suspension. Inspect your tires and wheel bearings before storage, and refer to the trailer manufacturer owners manual for proper hub maintenance. Consider adding a lock to your trailer coupling for security.
Support your boat cover properly to prevent water from pooling. Sagging areas collect snow and ice, which adds weight and can damage both the cover and your boat. Ensure adequate ventilation under the cover to prevent mildew and moisture buildup in the cockpit and storage areas.
Step 5: Regular Winter Inspection
Don’t just winterize and forget about your Warrior until spring. Plan to inspect your boat regularly during the storage period. Check for any cover damage, water intrusion, or other issues that develop over the winter months. Catching problems early prevents bigger headaches later.
Warrior-Specific Winterization Tips
Your Warrior’s deep cockpit design provides excellent protection on the water, but make sure it drains completely during winterization. Models like the V238 and V208 with large livewells need extra attention to ensure all water is evacuated from the system.
Tiller owners with the V2090 or V1890 should pay special attention to the Pro Tiller hydraulic steering system. Consult your owner’s manual for specific maintenance procedures for this system during winter storage.
Rod lockers are another area where moisture can hide. Leave them open during storage to promote air circulation and prevent mildew. Wipe down all vinyl seats with a quality vinyl cleaner (Never use citrus cleaners on vinyl).
Your Warrior’s wood-free construction is a huge advantage during winter storage. Unlike boats with wood stringers and transoms, you don’t have to worry about wood rot or delamination from freeze-thaw cycles. This is one of the key differentiators that makes Warrior boats last longer and maintain higher resale value.
Professional Winterization at Your Local Warrior Dealer
Not everyone has the time, tools, or space to winterize their boat properly. That’s where your local Warrior dealer comes in. Many authorized dealers offer complete winterization services that take the guesswork out of the process.
Professional winterization typically includes all the steps outlined above, plus a thorough inspection of your boat’s systems. Dealers have the expertise to spot potential problems before they become expensive repairs. They also have the specialized tools and knowledge to service specific systems like hydraulic steering and trim tabs correctly.
Beyond convenience, professional winterization provides peace of mind. You know the job is done right, and you have an expert’s eyes on your boat before it goes into storage. Some dealers even offer indoor storage options, which provide the ultimate protection for your Warrior during harsh winter months.
Find your local Warrior dealer at warriorboatsinc.com and ask about their winterization services. It’s an investment that pays off in reduced stress and better boat performance come spring.
Storage Location: Indoor vs. Outdoor
If you’re storing your boat yourself, location matters. Indoor storage in a heated garage or storage facility provides the best protection. Your boat stays dry, safe from the elements, and easier to access if you need to check on it.
Outdoor storage is more common for most Midwest anglers. If storing outdoors, choose a level spot with good drainage. A quality marine cover or shrink wrap is essential. Shrink wrap provides excellent protection from snow, ice, and moisture, though it requires proper ventilation to prevent condensation buildup inside.
Some boaters prefer traditional covers because they’re reusable and less expensive long-term. Whatever you choose, make sure the cover is properly supported and secured against winter winds.
Preparing for Spring on the Water
Proper winterization makes spring recommissioning much easier. When you’ve done the work correctly, you’ll simply reverse the process: reinstall batteries, connect systems, fill the fuel tank, install drain plugs (don’t forget this step!), and you’re ready to launch.
For a detailed spring recommissioning checklist, consult your Warrior Owner’s Manual. You can download the complete manual. Following these procedures ensures your boat is ready for opening day and protects your warranty coverage.
Common Winterization Mistakes to Avoid
Even experienced boaters sometimes make winterization mistakes. Here are the most common errors to avoid:
Never fill your fuel tank to maximum capacity. Always leave room for expansion to prevent dangerous spills and fire hazards. Never store batteries directly on concrete. Always use wood pallets or thick plastic. Never rely solely on the motor tilt lever to support a raised outboard during storage. Use a proper support bar.
Don’t forget to disconnect battery cables in the correct order: negative first, then positive. Reversing this order can cause sparks and electrical system damage. Finally, don’t skip the fuel stabilizer. Running untreated fuel through your system for 10 minutes is crucial for protecting your fuel system all winter. Always remember to trim your engine down and drain all water for storage.
Protect Your Investment All Winter Long
Winterizing your Warrior boat properly protects years of fishing memories and ensures many more seasons on the water. From the wood-free hull construction to the lifetime warranty, Warrior builds boats that last. Your job is to give that quality craftsmanship the care it deserves during the off-season.
Whether you tackle winterization yourself or trust it to your local dealer, following these steps protects your investment and maintains your warranty coverage. Take the time to do it right, and your Warrior will be ready to chase walleyes the moment ice-out arrives.
Need help or have questions? Contact your local Warrior dealer or visit our Downloads page for more owner resources. And don’t forget to join the Warrior Family community on social media to share tips, stories, and your best catches with fellow Warrior owners.
We’ll see you on the water next spring!